Introduction
The Break-Up: Why it’s time to break up with your curling iron
We need to talk about your relationship with your curling iron. It’s toxic. You love the way it makes you look, but you hate how it makes your hair feel. The smell of burning keratin, the straw-like texture at your ends, and the constant battle against dryness—these are the costs of high-heat styling.
If you are noticing increased breakage or faded hair color, it is time for a break-up. Relying on hot tools daily (often reaching temperatures of 400°F!) strips your hair’s natural moisture barrier, leading to irreversible heat damage. But stepping away from the wand doesn’t mean you have to settle for boring, flat hair.
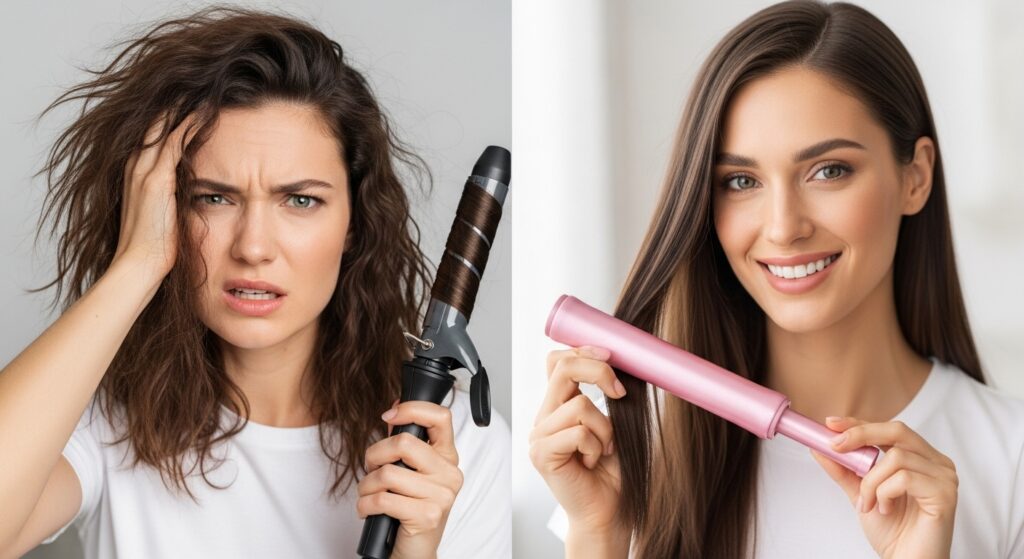
The Promise: You don’t have to sacrifice style for health
The narrative that “beauty is pain” is outdated. In the world of modern hair care, healthy hair is the ultimate style flex. The rise of no-heat hair styling proves that you can achieve voluminous blowouts, beachy waves, and tight ringlets without exposing a single strand to thermal stress. By switching to heatless methods, you aren’t just styling; you are actively repairing your hair by giving it the rest it deserves.
What You’ll Learn: A breakdown of the 5 most effective methods
In this guide, we are cutting through the noise. We have tested the viral TikTok trends and the grandmother-approved classics to bring you the definitive list. You will learn the 5 heatless curl techniques that actually work, matched specifically to your hair type and length. From the “Viral Satin Rod” to the humble “Sock Curl,” get ready to wake up to salon-quality results overnight.
Why the “Heatless” Hype is Real
Zero Damage: How heatless styling preserves moisture and prevents split ends
The primary reason heatless curls have taken over the beauty world is simple biology. Heat tools evaporate the water content in your hair shaft to reshape it. Over time, this causes the cuticle to crack, leading to the dreaded “white dots” of split ends.
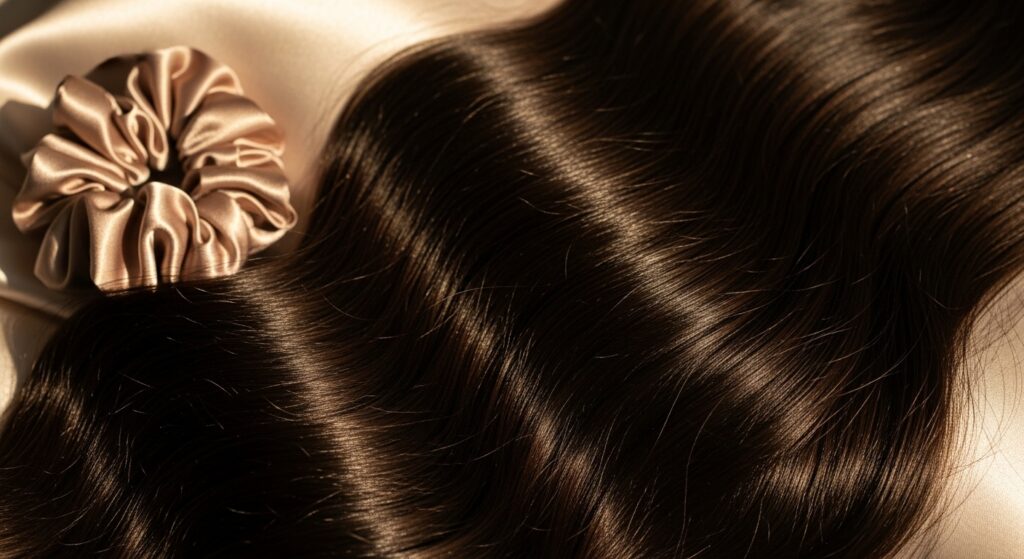
Heatless hair curlers, on the other hand, rely on hydrogen bonds. When your hair dries in a new shape (from damp to dry), these bonds set the style without trauma. This method preserves your hair’s lipid layer, resulting in curls that are shinier, softer, and completely damage-free.
The “Sleep & Go” Factor: Saving hours of morning styling time
Let’s be honest: nobody has time to spend 45 minutes sectioning and curling their hair every morning. Overnight curls are the ultimate life hack for the busy lifestyle. The “Sleep & Go” factor allows you to do the hard work while you are unconscious.
By spending just 5 to 10 minutes prepping your hair before bed, you wake up, unwrap, and walk out the door. It is the most efficient morning hair routine imaginable, giving you back precious time for coffee, breakfast, or just hitting the snooze button one more time.
Versatility: Solutions for every hair type
A common myth is that heatless styling only works for long, straight hair. That is false. The beauty of these techniques lies in their versatility.
- For Fine Hair: Methods like pin curls create volume at the root that heavy irons often flatten.
- For Thick/Coarse Hair: Robe curls and larger rods can tame frizz and smooth out texture without heat.
- For Short Hair: Smaller rollers and clips can create definition that a wand can’t reach without burning your scalp.
Whether you are looking for wavy hair tutorials or tight spirals, there is a heat-free method tailored for you.

3. The 5 Techniques That Actually Work
You have seen them on your “For You” page, but do they actually hold up? We put the most popular methods to the test. Here is exactly how to execute the top 5 heatless styling techniques, categorized by the look they achieve.
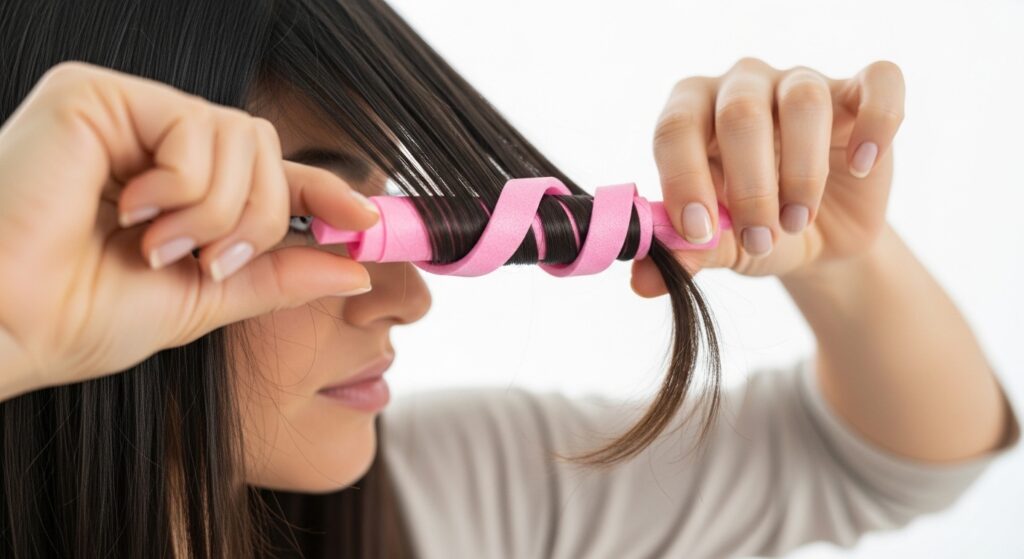
Method 1: The Viral Satin Rod (Best for Glamorous Blowout Waves)
If you are chasing that expensive, 90s supermodel blowout look, this is the gold standard.
- Why it Works: The magic lies in the material. Satin heatless curlers reduce friction against the hair cuticle, meaning you wake up with glossy, smooth waves rather than a frizzy mess. Because the rod creates a large, uniform shape, it mimics the effect of a large-barrel curling iron or a professional round brush blowout.
- The Technique:
- Start with damp hair and a center part.
- Place the satin rod on top of your head like a headband and clip it in place.
- Take a small section of hair near your forehead and wrap it away from your face and over the rod.
- Add a new section of hair to the first piece (like a French braid) and wrap again.
- Continue until all hair on one side is wrapped, then secure with a scrunchie. Repeat on the other side.
- Pro Tip: To avoid the dreaded “dents” at the ends of your hair, do not tie the elastic too tight. Use silk scrunchies for a soft hold that won’t leave a crease.
Method 2: The Sock Curl Hack (Best for Big, Bouncy Volume)
Don’t have a fancy curling kit? Check your drawer. The DIY sock curl method is legendary for a reason—it creates superior volume.
- Why it Works: This method is accessible to everyone. Because socks are generally thinner than satin rods, they create a tighter, springier curl. The fabric grip ensures layers don’t slip out, making it the best heatless method for layered hair.
- The Technique:
- Brush your hair and separate it into 2-4 sections (more sections = tighter curls).
- Clip the toe of a long clean crew sock to the root of a section.
- Weave your hair around the sock in a criss-cross pattern (figure-8 motion) or simply wrap it down the length of the sock.
- Once you reach the end, flip the opening of the sock up over the hair to secure it into a bun.
- Pro Tip: Sleeping with four buns on your head can be annoying. Connect the ends of the socks behind your head or tie them together at the nape of your neck to create a flatter surface for more comfortable sleep.
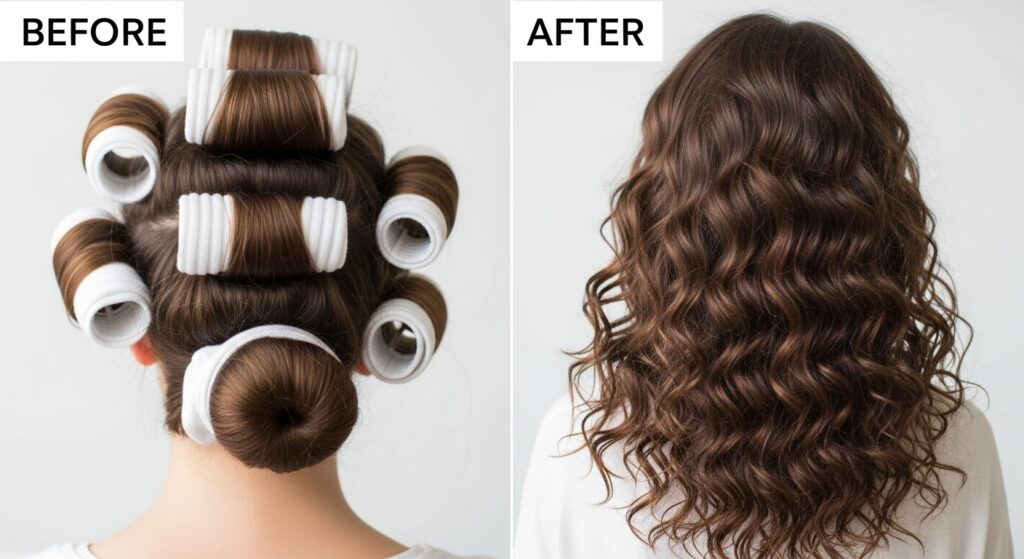
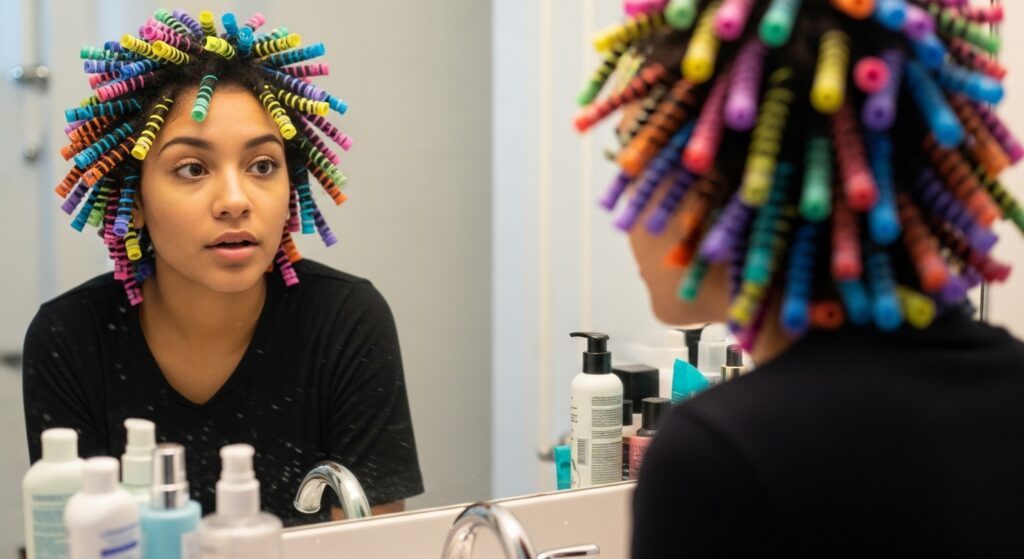
Method 3: Flexi Rods (Best for Defined Spirals)
For those who want precision and definition, flexi rods (or bendy rollers) offer the most control.
- Why it Works: Unlike the other “one-size-fits-all” methods, flexi rods allow you to control the curl size and direction. You can roll them tight for spiral curls or loose for waves. They are particularly effective for natural hair textures transitioning away from heat.
- The Technique:
- Section hair into small, vertical squares.
- Place the rod at the ends of the hair and roll upward toward the scalp.
- Bend the ends of the rod inward to lock it in place against your head.
- Pro Tip: Avoid the “Shirley Temple” perfection. Use different rod sizes (e.g., orange and purple rods) throughout your head to create a more natural, “undone” texture that mimics natural curl patterns.
Method 4: The Robe Belt Method (Best for Very Long Hair)
If your hair is down to your waist, standard curling kits might not be long enough. Enter: the dressing gown belt.
- Why it Works: The terry cloth or thick cotton material of a robe belt is highly absorbent. This makes it ideal for thick, heavy hair that usually takes forever to dry. The fabric grabs onto the hair, preventing heavy strands from sliding out overnight.
- The Technique:
- Drape the robe belt over your head (creating a U-shape).
- Twist two large sections of hair around the belt, twisting away from your face.
- As you twist down, incorporate more hair (similar to the satin rod method).
- Twist the resulting two “pigtails” into buns at the side of your head.
- Pro Tip: Because the fabric is thick, it can pull moisture out of your hair too quickly. Keep the hair slightly damper than usual for this method, or seal your ends with a little hair oil before wrapping to ensure the curls remain hydrated.

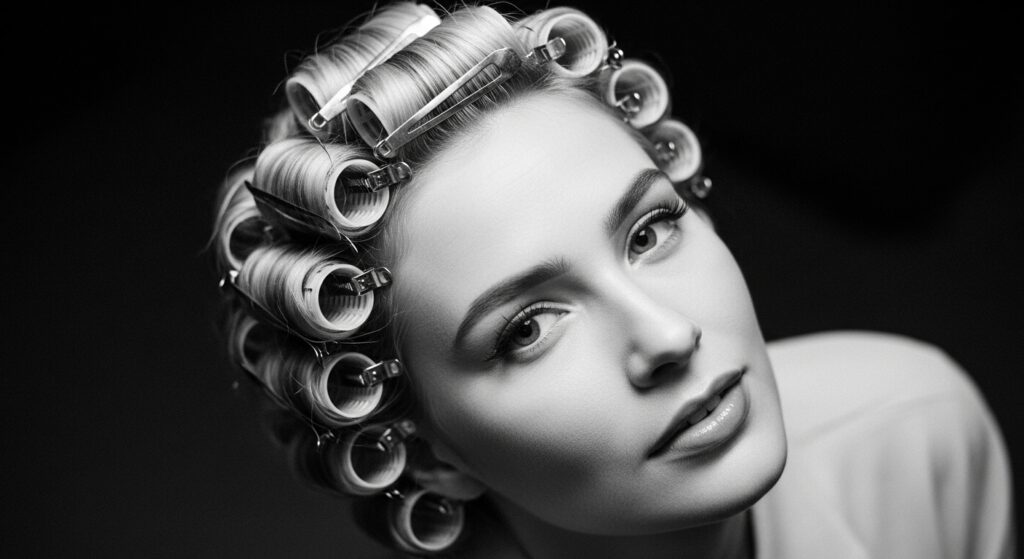
Method 5: Pin Curls (Best for Short Hair & Retro Vibes)
Short hair queens, we didn’t forget you. Pin curls are the original heatless hack, used by Hollywood starlets long before curling wands existed.
- Why it Works: This technique requires zero special tools—just bobby pins. It creates incredible root lift and lasting hold, making it perfect for bobs, lobs, and pixie cuts that can’t wrap around a rod.
- The Technique:
- Take a small, damp section of hair (about 1 inch).
- Wrap the hair around your finger to create a loop.
- Slide the loop off your finger and lay it flat against your scalp.
- Secure it with two bobby pins in an “X” shape.
- Pro Tip: The pins can slide around if you toss and turn. Cover your head with a silk bonnet or a satin scarf. This not only keeps the pins in place but also prevents frizz, ensuring your vintage waves are smooth in the morning.
The “Secret Sauce”: How to Make Them Last
You’ve done the wrapping, you’ve slept through the night, but will your curls survive past noon? The difference between a style that flops and one that lasts 3 days comes down to three critical steps.
Prep Work: Why “damp, not wet” is the golden rule
The biggest mistake beginners make is starting with soaking wet hair. Here is the science: Heatless curls work by resetting the hydrogen bonds in your hair as it dries. If your hair is too wet, it won’t dry completely overnight. You will wake up with damp, limp strands that straighten out the moment gravity hits them.
The Golden Rule: Your hair should be 80% dry (damp) before you start. It should feel cool to the touch but not wet enough to squeeze out water. If you just washed your hair, air dry or rough dry it first. If you are starting on day 2 hair, use a continuous spray bottle to lightly mist it.
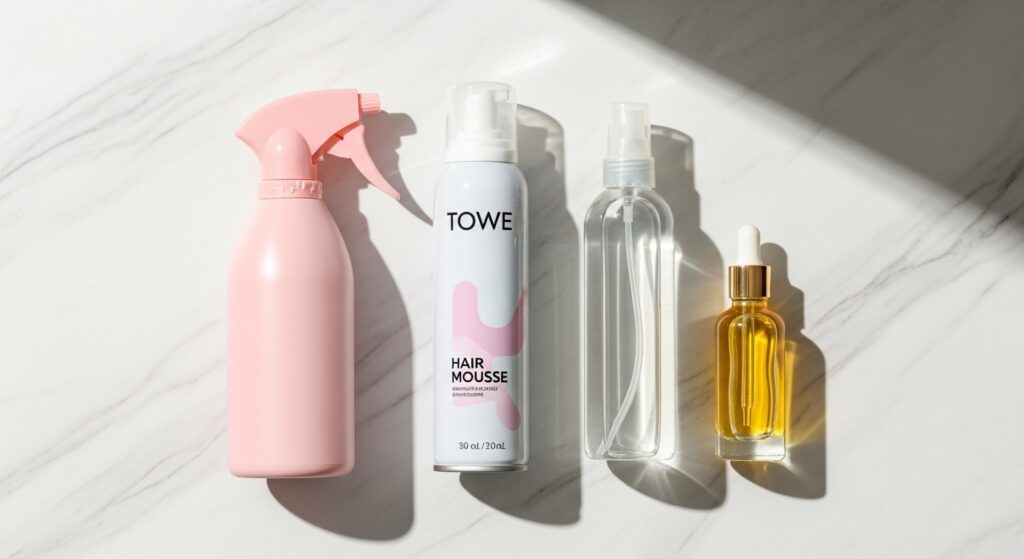
Product Power: The role of mousse and oil
Think of your hair like a canvas—you need to prime it.
- Before (The Grip): Apply a lightweight volumizing mousse or a curl-enhancing foam to your damp sections. Mousse adds “grit” and texture, giving the hair a memory of the shape it’s about to take. Without this product, silky or healthy hair will simply slide off the rod.
- After (The Seal): Once you take the curlers out, apply a dime-sized amount of lightweight hair oil (like Argan or Jojoba) to your palms. This tames any static, seals the cuticle, and gives that expensive “salon finish” shine.
The Takedown: How to finger-comb without frizz
The “reveal” is the most dangerous part of the process. Do not reach for a hairbrush. Brushing out tight heatless curls immediately will turn them into a giant puffball of frizz.
Instead, gently unwrap the rod or socks in the reverse direction of how you wrapped them. Once the hair is loose, use your fingers to rake through the curls and shake them out at the root. If a curl is too tight, gently tug on the end to loosen it. Only use a wide-tooth comb if you are going for a very soft, vintage wave look.
Frequently Asked Questions (Troubleshooting)
We scoured the comments sections of the most popular hair tutorials to answer your burning questions.
If your curls dropped faster than your phone battery, it is usually one of two things: lack of hold product or too much moisture.
– The Fix: Next time, be generous with the mousse before wrapping. If your hair is naturally pin-straight/fine, you may need a light layer of hairspray before you wrap, not just after.
Let’s be real—sleeping with a pool noodle on your head isn’t natural.
– The Fix: If you are a side sleeper, avoid the “halo” or “crown” placement (Method 1). Instead, use the pigtail method or Method 2 (Socks) and tie the ends together at the nape of your neck? This creates a “gap” at the back of your head, allowing you to lay flat on your pillow without a lump pushing into your skull. A silk pillowcase also helps you slide around without friction.
Yes! In fact, many people prefer it.
– The Fix: You don’t need to hop in the shower. Just dampen your dry hair with a spray bottle filled with water or a leave-in conditioner mixture. This reactivates the hair’s hydrogen bonds just enough to reset the shape without the long drying time.
Conclusion
Final Verdict
The era of frying your hair for the sake of fashion is officially over. Whether you choose the viral satin rod, the humble sock hack, or the classic pin curl, the path to healthier hair starts tonight.
We encourage you to experiment. Your hair texture is unique, so you might find that the Flexi Rods give you the volume you crave, while the Robe Belt is too heavy. Don’t give up if the first try isn’t perfect—it usually takes 2-3 attempts to master the tension and wrapping technique.
Did you try one of these methods? We want to see the results! Tag us on Instagram or drop a comment below sharing which method worked best for your hair type. Let’s grow our healthy hair community together!